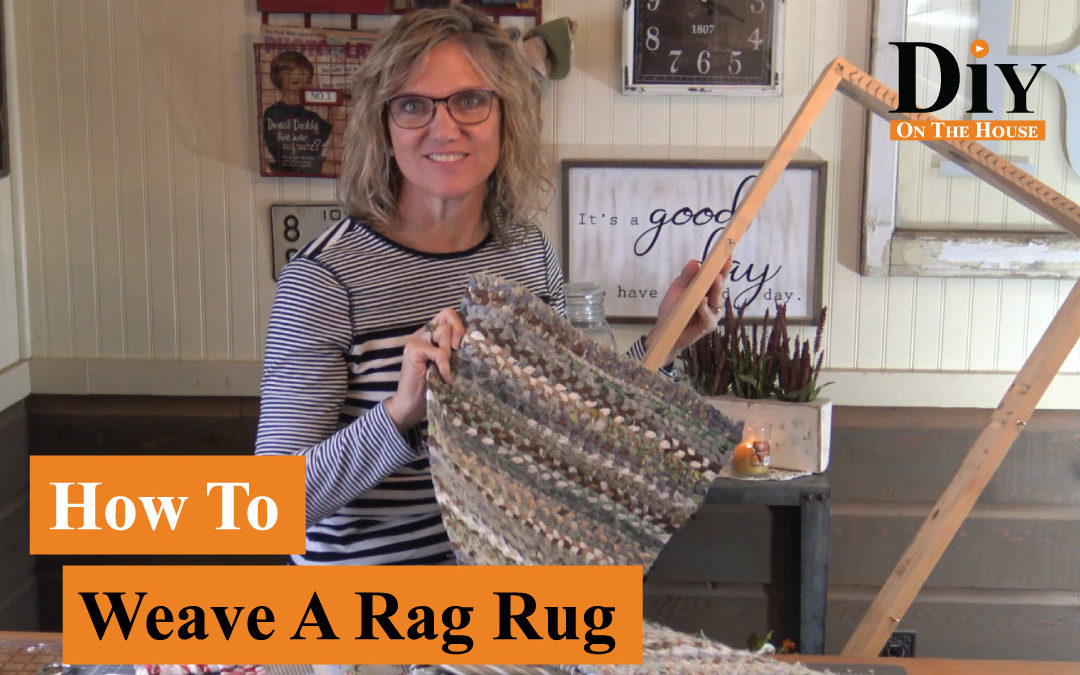
 Last week’s video, we showed how to make the loom to weave a rug, this week, we make the rug!
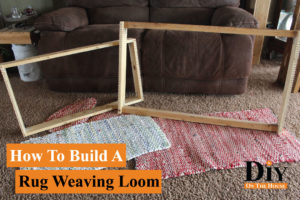
Here is last week’s video in case you missed it: Make a Rug Loom
The obvious reason I love these rugs is they are adorable look — but I also love that I can use up my scrap fabrics! The fabric options are endless for rag rugs… sheets, curtains, cotton fabric, flannel.
Enjoy the Video on How to Weave a Rag Rug
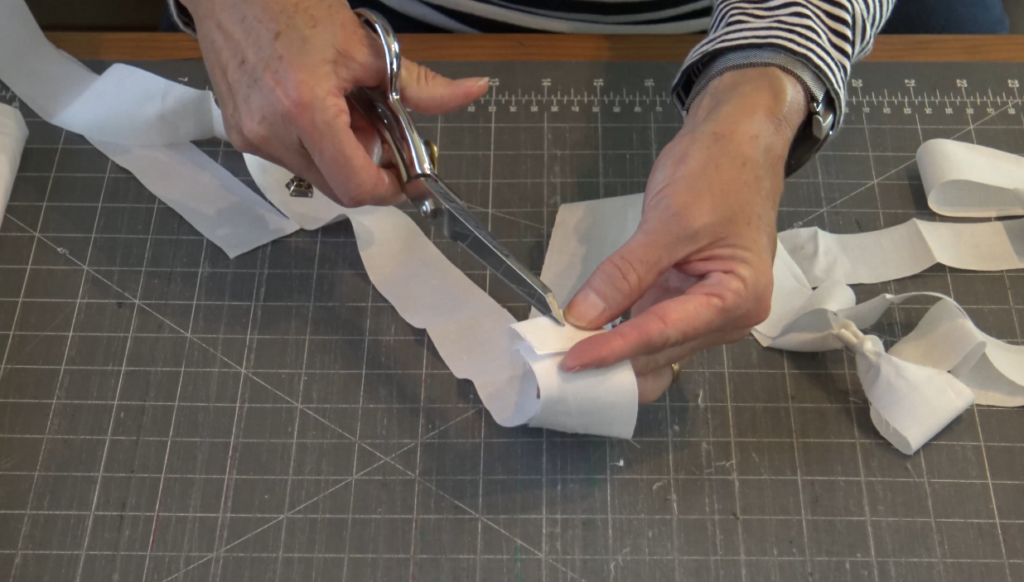
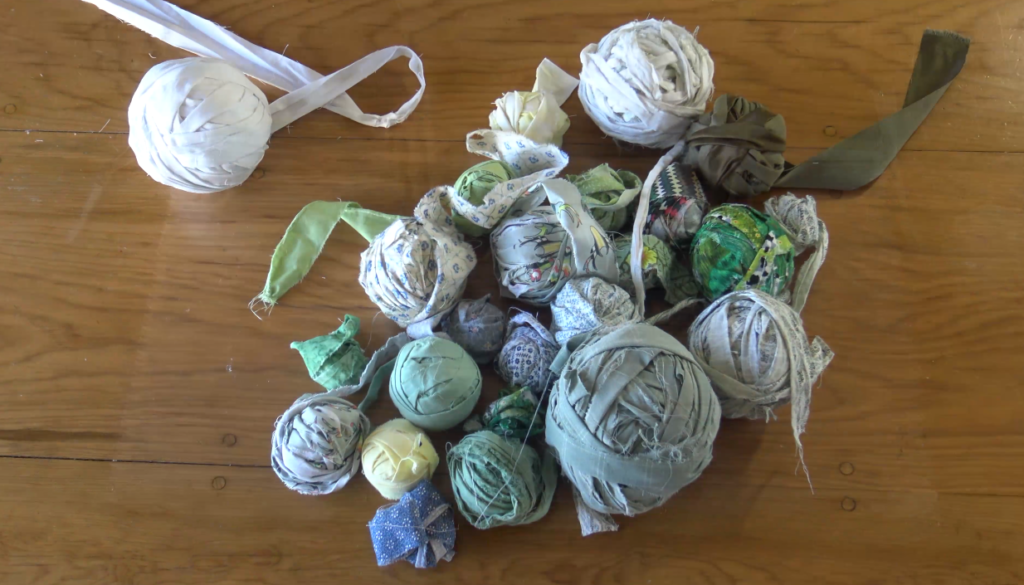
Preparing the Fabric
Rip fabric into 1 1/2″ wide strips. Do not join the fabric you are going to use to weave the rug at this time. Do join the warping fabric end to end and wrap in a ball.

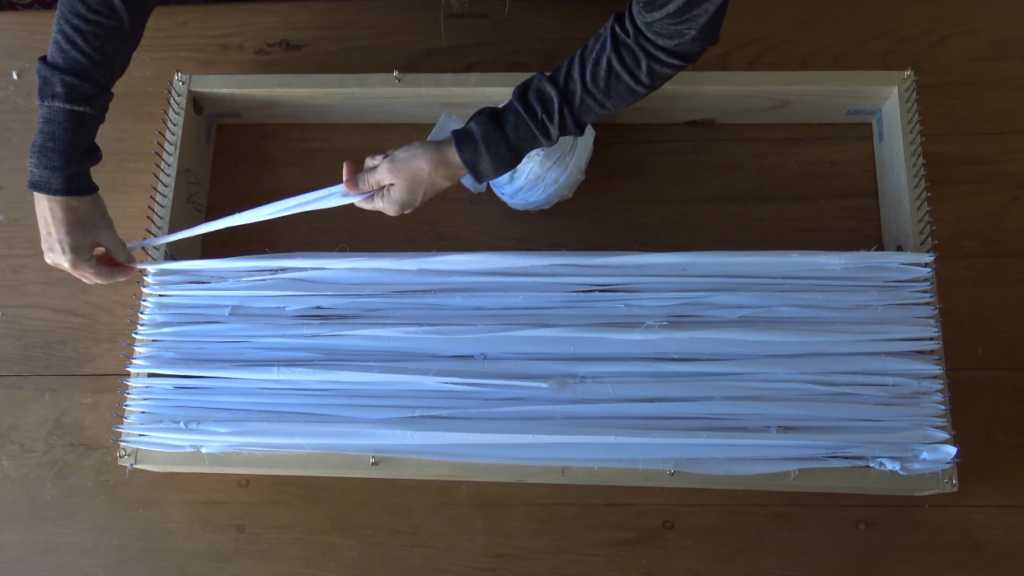
Warp the Fabric
Warp the fabric onto the loom by wrapping the warping fabric around each finishing nail on the rug loom.
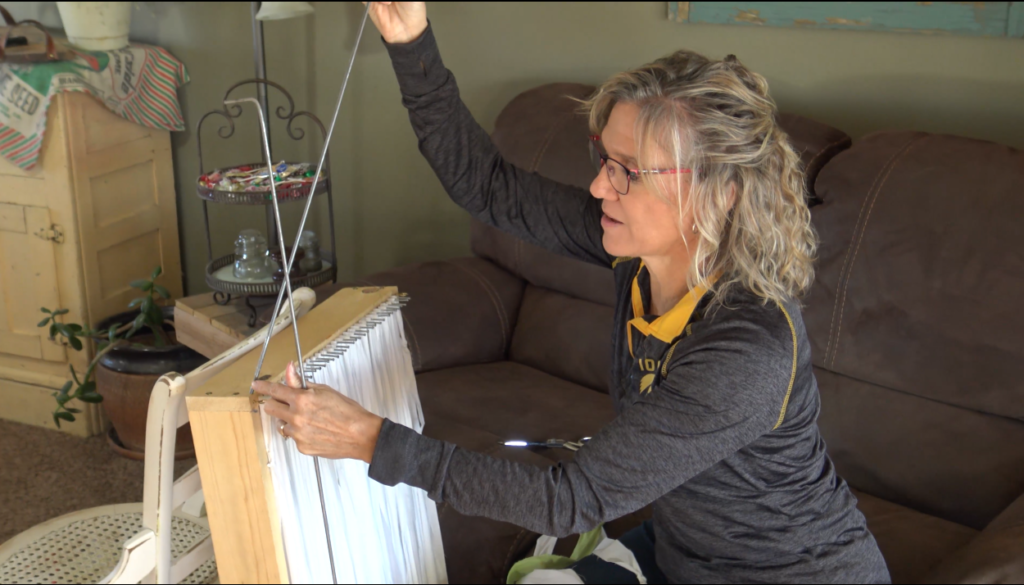
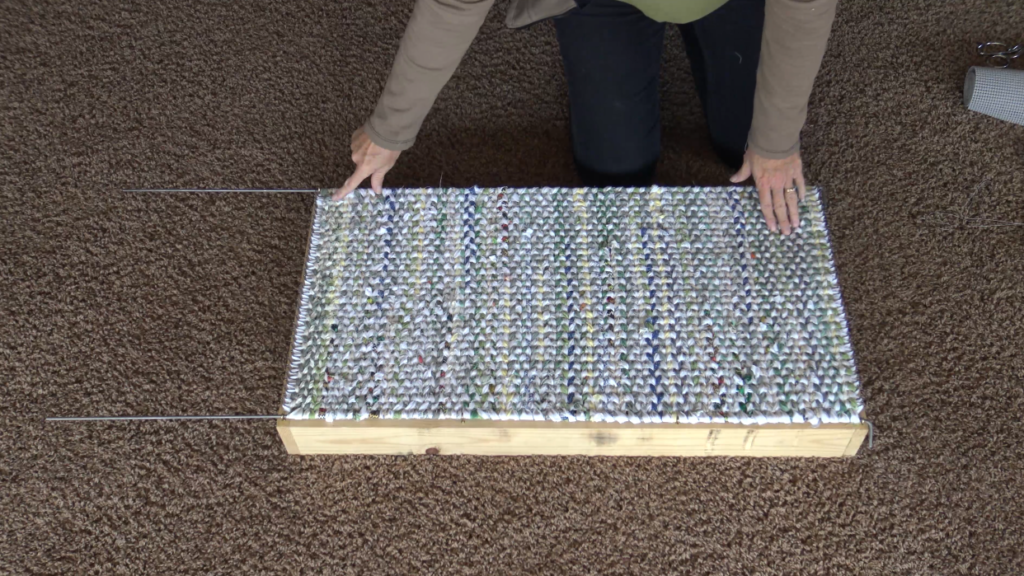
Insert Rods on Loom
The rods are the key to making sure your rug stays square. Insert them into the eyes on the side of the loom.
Weaving the Rug
When you weave the fabric, each row needs to wrap around the rod on the side of the loom.
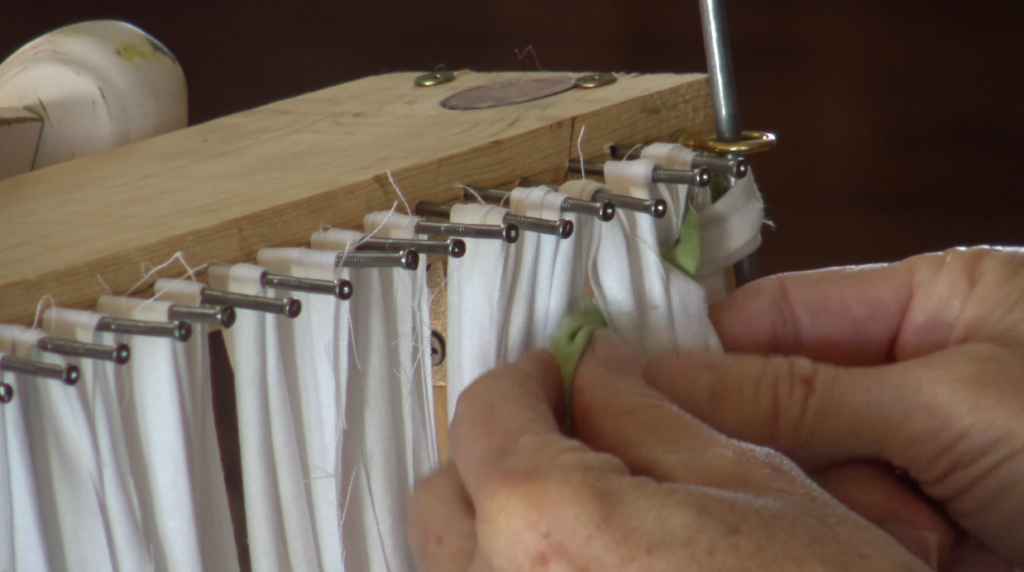
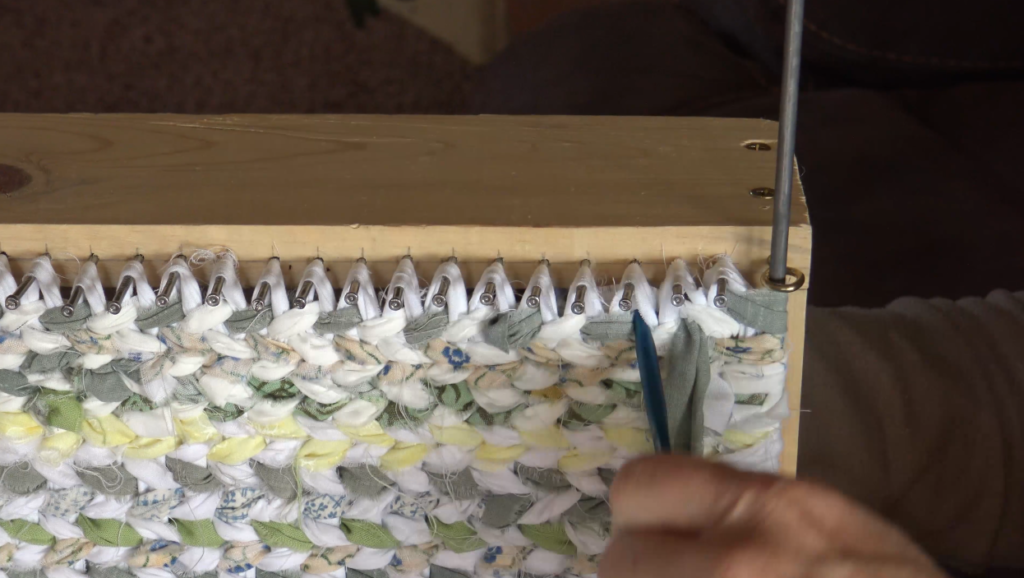
The Final Row
When you get to the final row, now take the fabric and put in between the warp fabric under the nail. This can be hard to get your fingers in, so use a crochet hook to pull the fabric. This locks the row so that when you remove the rug, the last row won’t slip off!

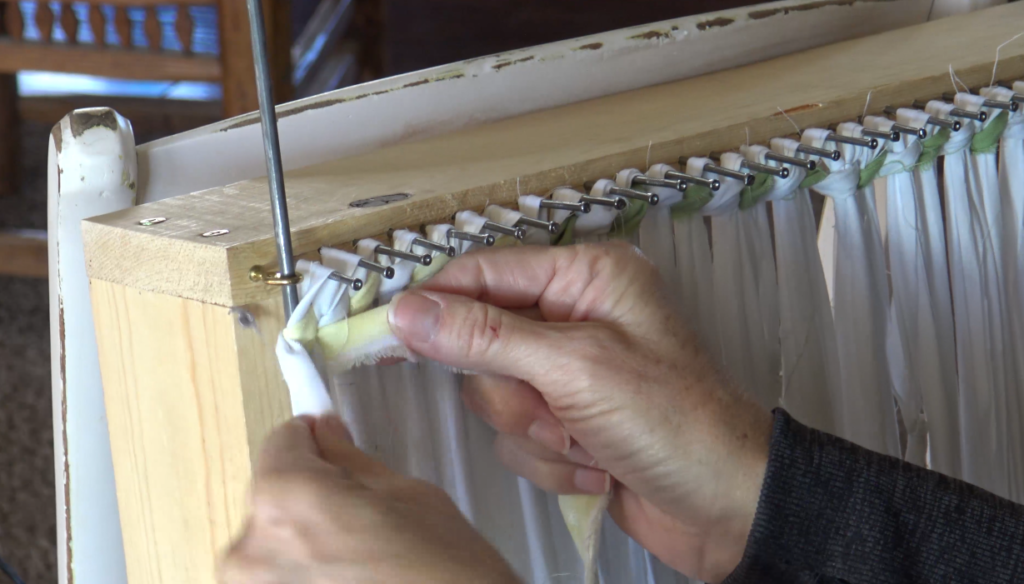
Weave Back a Few Stitches
Once you complete the last row, do three or four more stitches to make sure you have a secure ending. Sort of like back-stitching in sewing.
Pull out the Rods
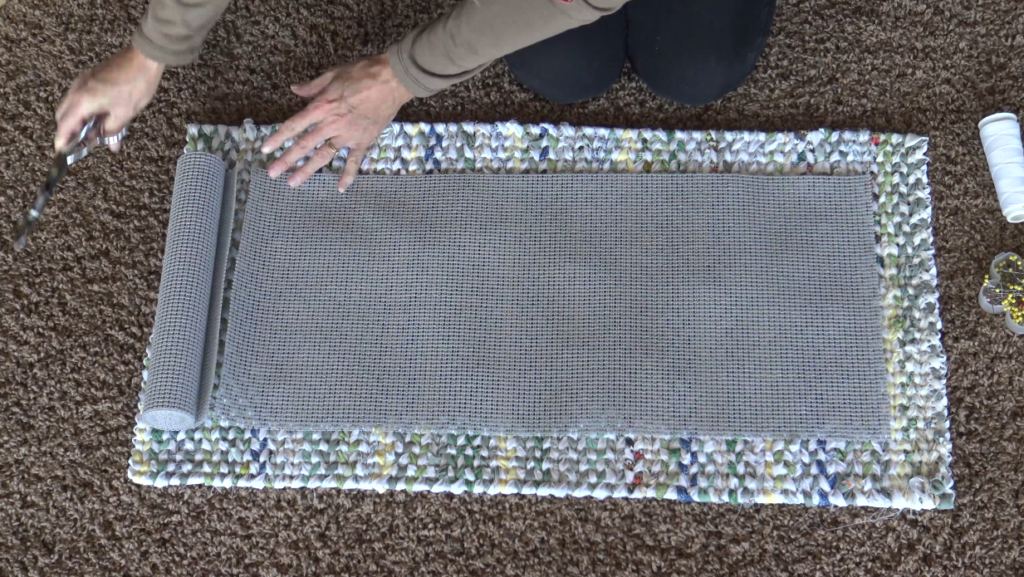
Add Backing to Rug
I like using the foam shelf liner as a backing for the rug, otherwise they can be pretty slippery. Cut to size and slip stitch in place.
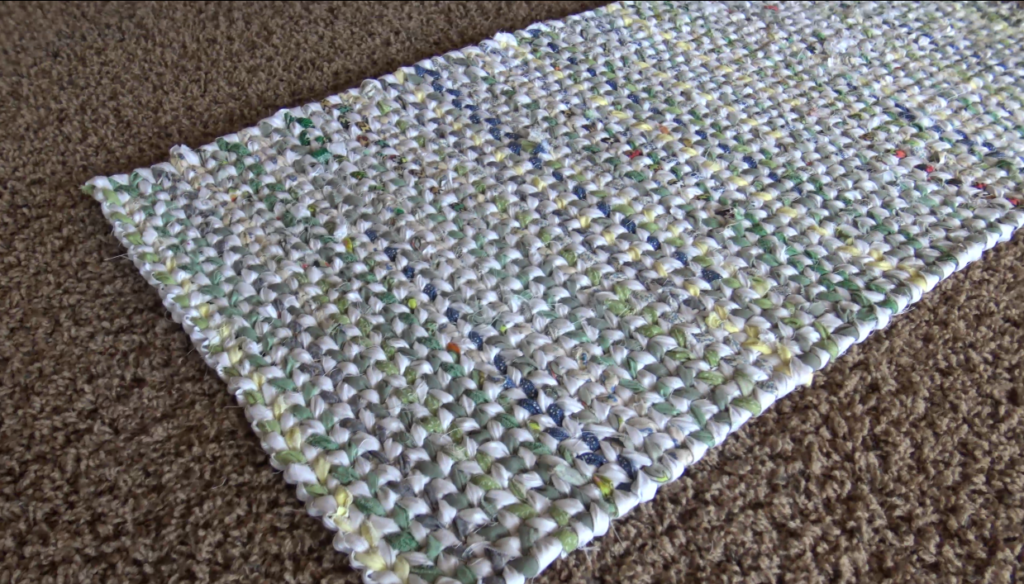
All Finished
Check out our other DIY on the House Videos on our Channel